How to Read a Tide Chart Before a Rocky Shore Wildlife Walk
"Low water's at 14:20, so let's walk out at two." It sounds sensible, and on plenty of shores it works. Then you reach the point, find the lower ledges still under a foot of moving water, and realise the plan was built on one number instead of the whole chart. A tide table is not a timetable for a stroll. It is a set of heights and times that only means something once you match it to the rock, the swell and the creatures you came to see.
Getting that match right takes ten minutes at home and pays you back with a longer, safer, far more interesting walk. Here is how to read the chart properly, and what to do with what it tells you.
What a Tide Chart Actually Tells You
Most tide tables give you four things for a standard port: the time of high water, the time of low water, and the height of each, usually with hourly heights in between. Some are printed as curves rather than columns, which is easier to read at a glance. Either way, the heights are measured above chart datum, a low reference level that sits roughly at the lowest water the tide is expected to reach. That is why the numbers are mostly positive and why a low water of 0.4 m is not a big retreat — it is the sea barely stepping back from the rocks.
Two details catch people out. Times are local, so check whether daylight saving is in force, and check whether your chosen spot is a secondary port that needs a time and height difference applied to the main port's figures. And tides run roughly fifty minutes later each day, so a printout from last week is wrong by hours, not minutes.
Spring Tides, Neap Tides, and the Shape of the Day
Spring tides have nothing to do with the season. They arrive near the new and full moon, when sun and moon pull together, and they bring the biggest range: the lowest lows and the highest highs. Neap tides, around the quarter moons, bring a compressed range — the water may never drop far enough to expose the outer ledges at all.
This is the first filter for your planning. If the creatures you want live on the low shore, you need a spring low, or at least a moderate one. If you are after roosting birds or an easy, gentle walk with children, a neap is often kinder: less water moving, less current, more time on the middle shore. On springs, the same shore gives you more ground but a faster return — the flood can fill a gully in the time it takes to photograph a pool.
Matching the Chart to the Shore in Front of You
Numbers on paper only become useful when you attach them to features. Walk your shore once on a calm day and note the landmarks: the line where the kelp starts, the top of the barnacle zone, the dark band of lichen and periwinkles, the strandline of dried weed. Those bands are your contour map, and they tell you roughly how high each part of the shore sits above chart datum.
Now take a simple case. A ledge you want to explore sits around 1.2 m above datum. Look down the tide table for the hours when the predicted height is below 1.2 m — say from 12:40 to 15:50 on a moderate low. That is your working window, before you subtract anything for safety. Add a margin of at least half an hour at each end for swell, and you have a realistic two-hour session rather than a hopeful three-hour one.
If you do not have hourly heights, the rule of twelfths is a serviceable shortcut. Between low and high water the tide rises roughly one-twelfth of its total range in the first hour, two-twelfths in the second, three in each of the third and fourth, two in the fifth and one in the sixth. It is an approximation, but it is far better than assuming the water rises evenly, which it never does.
Choosing Your Window: Access and Safety
The best rhythm on a rocky shore is to arrive on a falling tide, walk out as the water retreats, and turn round at or just after low water. That way the ground you crossed is still open when you come back. Aim to be at your access point at least an hour before high water, and longer if the route involves a beach, a boulder field or a gully that fills from behind.
The tide rarely arrives at your ankles. It arrives at the rocks between you and the path.
Watch for the features that cut you off: a channel around a headland, a slippery slab you can descend but not climb, a cave that is passable at low water and a trap at mid-tide. Wet seaweed on angled rock is the single most common cause of a hard fall, and a phone signal in a cove is not something to count on. Tell someone where you are going and when you expect to be back.
When the chart and the weather disagree
Predicted heights assume average weather. A deep low-pressure system and a strong onshore wind can add tens of centimetres and push the water in early; sustained high pressure holds it back. Swell is separate again and arrives regardless of tide — a long swell on an otherwise small tide will still wash a low platform. On a flat shore, a small surge makes a large difference to how much rock is dry, so check the wind and swell forecast alongside the table, not after it.
Wildlife Visibility: What Each Stage of Tide Offers
Tide stage shapes what you can see as much as where you can walk.
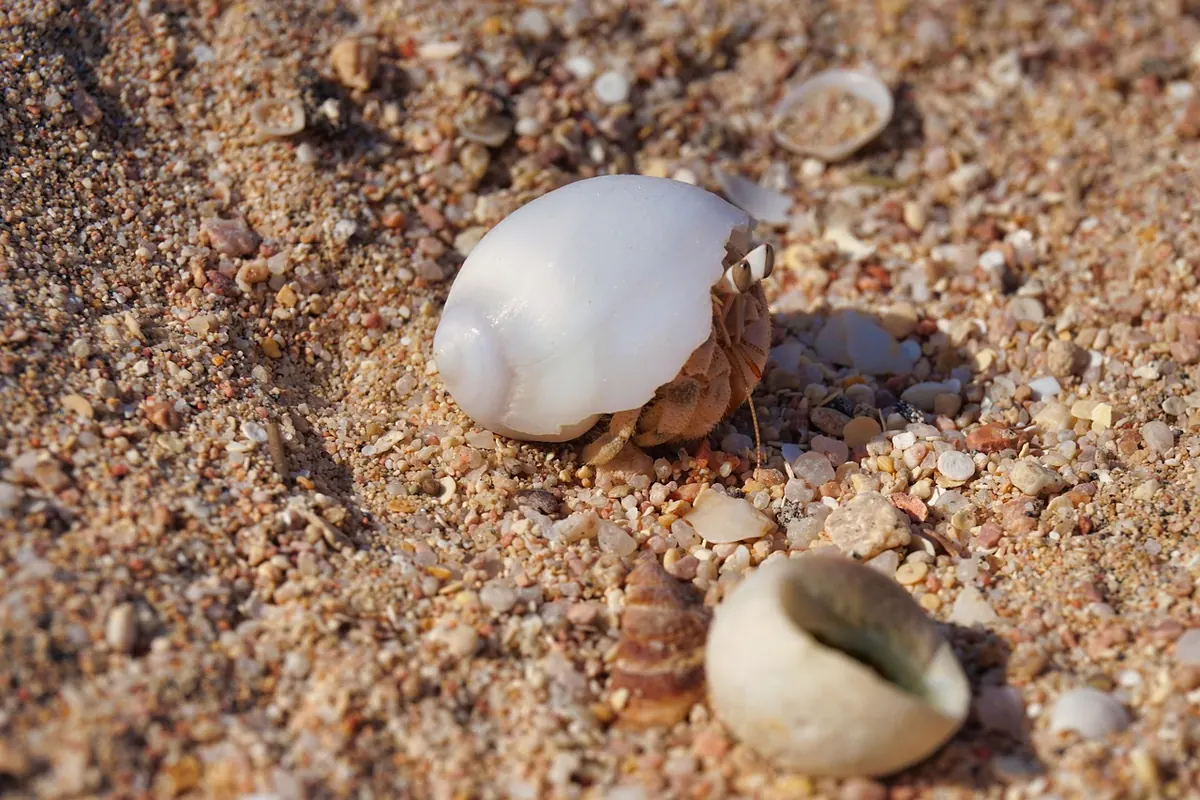
- Two hours either side of low water: the rockpool hour. Anemones open, crabs and chitons are on the move, and weed fronds lie flat enough to see what is under them. Turn rocks gently and put them back exactly as they were.
- Falling mid-tide: the feeding edge. Oystercatchers, turnstones and gulls follow the retreating water onto mussel beds and weed, so scan ahead of you rather than at your feet.
- High water: the roost. Waders bunch on the upper rocks and shingle, cormorants dry out on stacks, and seals often haul out. Give them a wide berth and keep low on the skyline.
- Spring lows: the richest, least-disturbed zone is briefly open. Go early or late in the day for low light and quieter animals.
One caution: on neap high waters, animals that normally stay low get pushed up the shore. Birds roosting on a path or a slipway are not lost — they are waiting out the tide. Walk around them.
A Five-Minute Routine Before You Leave
- Open the tide table for the correct day and port, and confirm the time zone.
- Note both low waters and their heights. A higher second low means a shorter, wetter window.
- Check the range: is this a spring or a neap, and does it expose the ledges you want?
- Read the wind, pressure and swell forecast, and add a margin if any of them is against you.
- Set a turnaround time on your phone — low water plus thirty minutes — and stick to it, whatever you are looking at.
Do that once for a shore you know well and you will start to see the place differently: not as a fixed landscape, but as somewhere that opens and closes twice a day, and rewards the people who turn up at the right hour.
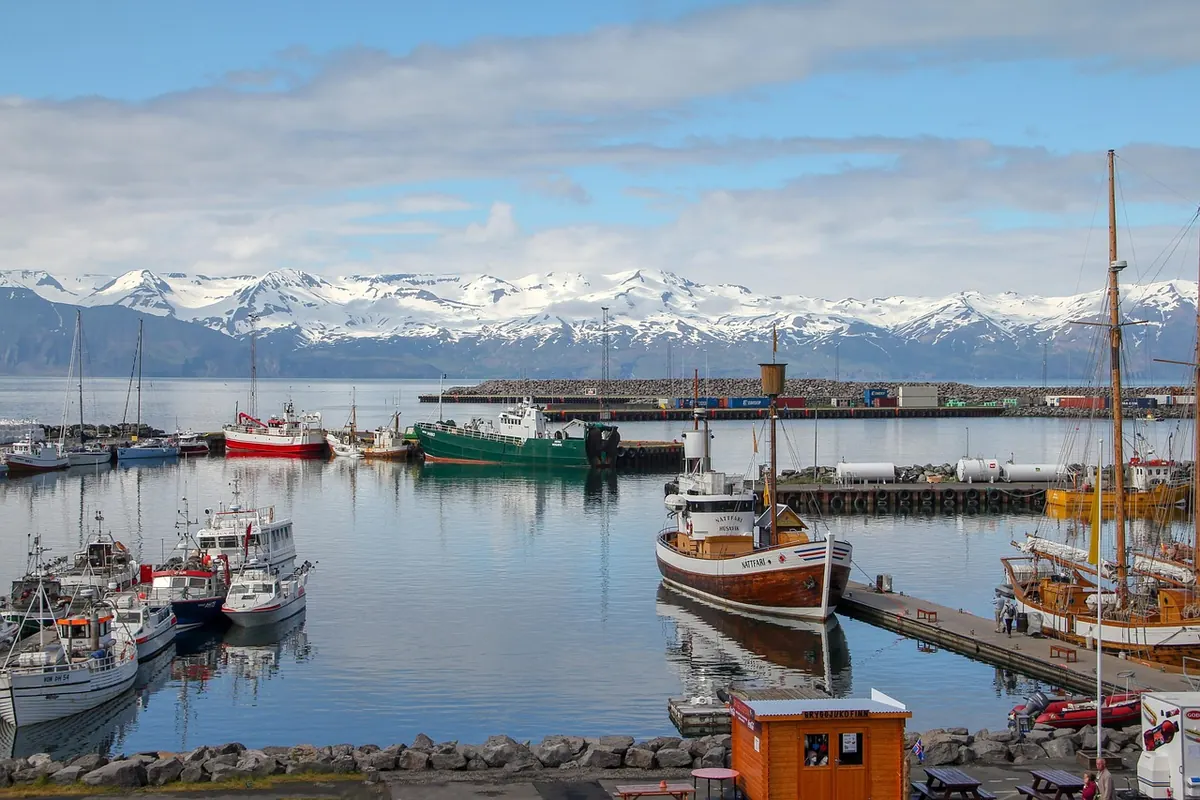
Photo: Marija Piliskic / Pexels
Why Local Fishermen Watch Wind and Tides: A Bay Story
In one Mediterranean bay, fishermen read wind, tide and the water's small signals before dawn — habits any...

How to Photograph Coastal Wildlife Without Disturbing It
Practical field craft, camera settings and distance rules for photographing coastal wildlife so the animal...
About Us